
5 Client Onboarding Tools for Web Designers
Raise your hand if you’ve ever been in this position before:
A new client signs the contract and you’re ready to hit the ground running. You let the client know that you need X, Y, and Z from them in order to get their website done and they say something to the extent of, “Yes! Totally! We’re working on it now!”
You’re a couple weeks into the project, maybe about to start wireframing or mockups, and realize you still don’t have the client’s logo in a scalable format. Or the content for their pages. Or the login information to their web hosting account.
It’s stressful having to track down these missing parts. It becomes even more stressful when you find out too late that your client never received their logo in an EPS format, that their writer didn’t come through with the copy, or that they have no idea what hosting is and expected you to take care of it.
When these all-too-common issues occur, projects run behind and budgets get thrown out of whack. It’s no good for you and it’s no good for clients.
There’s a way to avoid all of this hassle and to create less work for yourself. And you’ll do this with the following client onboarding tools.
5 Client Onboarding Tools for Web Designers and Agencies
Client onboarding is the process that takes place between the contract getting signed and starting work on a project. By putting an actual process in place and supporting it with the following tools, you can:
- Create better, more predictable workflows for your business.
- Stop wasting time chasing down clients and begging them to be accountable.
- Spend less time managing tasks outside of your wheelhouse.
- Make a stronger impression with clients as you confidently take the reins.
- Improve your profit margins by reducing the chances of scope creep from occurring.
Here are the tools that will empower you to do this:
#1: AND.CO for Milestone Invoicing
Website projects can take anywhere from a couple weeks to a number of months to complete. Rather than send an invoice once the job is finished, you should be billing them at various milestones throughout.
I’ve tried a number of contract/invoicing tools over the years, but the best one I’ve found is AND.CO.
The first thing to use it for is contracts. You can quickly queue up a contract template that contains all the legalese needed to protect both you and your client. All you need to do is fill in the custom details for the job and send it off.
One of those details is how much the project costs and when each of the milestone payments are due. The first payment your contract should stipulate is a good-faith deposit that gets paid immediately after the contract is signed and before the project can begin.
AND.CO even has an option that allows you to “Make deposit payment mandatory for approval”:
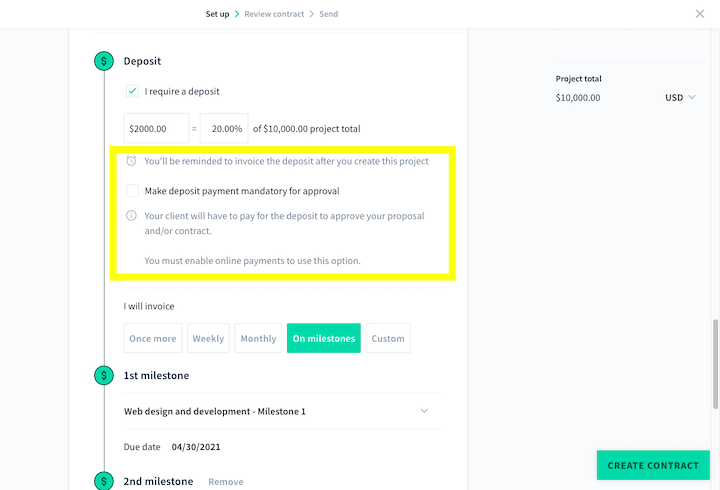
I know it can feel weird asking a client to pay before you’ve done any work. However, clients that are committed to the project won’t gripe about this requirement. And it’ll ensure that you at least get paid part of what you’re owed if the client disappears down the road (which, unfortunately, can happen).
Another benefit of using this software is that it automatically generates invoices based on the agreed-upon milestone schedule and the details you provided in the contract. In addition to sparing you the trouble of manually creating invoices, it’ll also follow up with your clients to make sure you get paid on time.
#2 & #3: Calendly + Zoom for Scheduling the Client Kickoff Call
It’s much easier to get clients to be accountable when they view you as a person they can talk to instead of just a service they’re paying for. So, you need to get your new clients on a video call as soon as possible after the contract is signed.
But the trouble here is that your client or main point-of-contact is very likely a busy CEO, project manager, or marketing assistant. Trying to pencil in a call when everyone is available will require a serious game of email-tag.
That’s why the Calendly–Zoom integration needs to become your best friend. Here’s how it works:

Calendly allows you to create different types of events. Once you set up the specs for your website kickoff call, you’ll never have to do it again. This is a one-and-done kind of thing.
As you can see above, you get to choose your event location. I prefer to use Zoom for mine since most people know how to use it, it doesn’t require any software download on the client’s part, and I can record each of my client calls for future reference.
Another great thing about Calendly is you get to program the rules for scheduling:
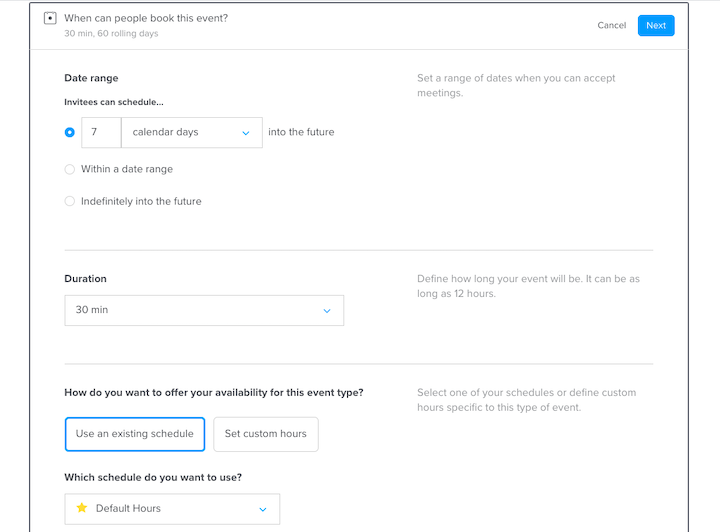
For instance, you can:
- Require clients to schedule a kickoff call with you within 7 days so you can get things started right away.
- Set a duration for the call so the client is fully aware of how much time you plan to dedicate to the kickoff and won’t try to make it run any longer than that.
- Connect your calendar to Calendly so that clients can only schedule a time when you’re actually free to chat.
- Add a buffer before and after the call, so you have time to prep before and record notes after your call.
If you use the upgraded version of Calendly, you can take the additional step of automating email and text reminders before the call as well as a “get started” email after it’s done.
Once you set up your Calendly scheduler, all you need to do is embed it on your website or send the link directly to your client. They can then take care of scheduling their kickoff with a calendar that looks like this:
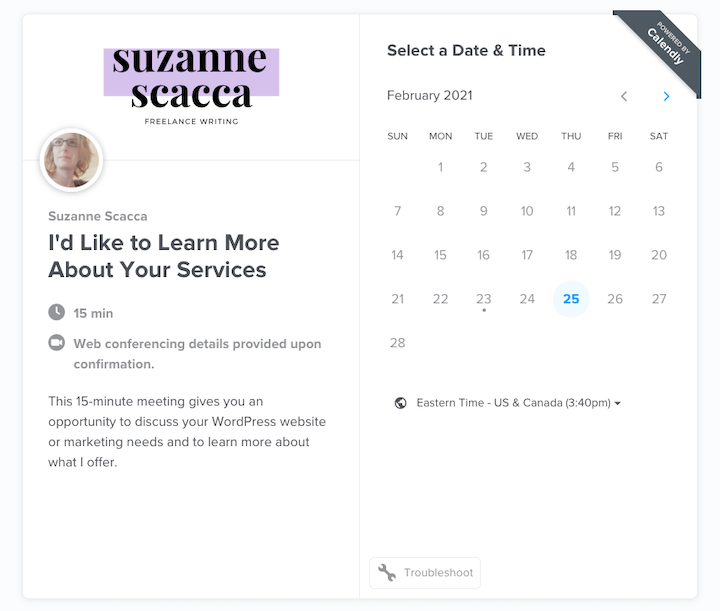
Calendly will take care of setting up a Zoom room and adding all of the pertinent details to both of your calendars. It’s super convenient and ensures that you can focus on the project at hand and not the logistics of scheduling the call.
#4: Content Snare for Collecting Info, Files, and Logins
The next step is to collect everything you need from your client both to get started now and to finish up on time.
Rather than send them a bunch of loose documents to fill out and platforms to upload their files to, use Content Snare to streamline the process.
What I’d recommend you do is start with a Content Snare template. It’ll save you the trouble of trying to build it from scratch and it’ll also ensure you cover the essential questions you should be asking.
For instance, this is what the web design questionnaire template looks like (this is pretty much how it’ll look for your clients, too):
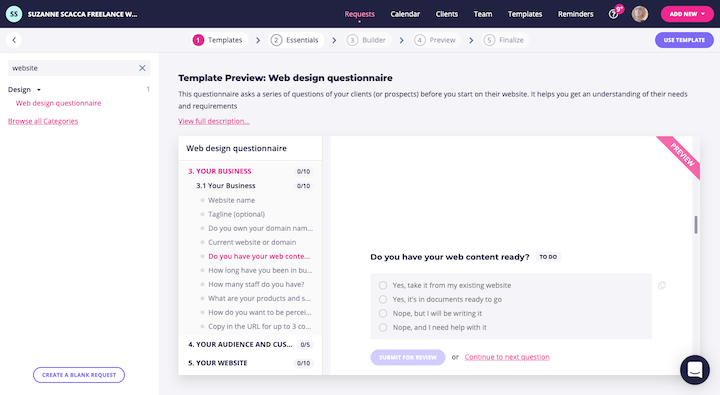
This would be a great one to use for collecting details about your client’s business, what they need their website to do, as well as to get ideas about their tastes and preferences.
Here’s another one you might want to use. It’s the standard starter site template:
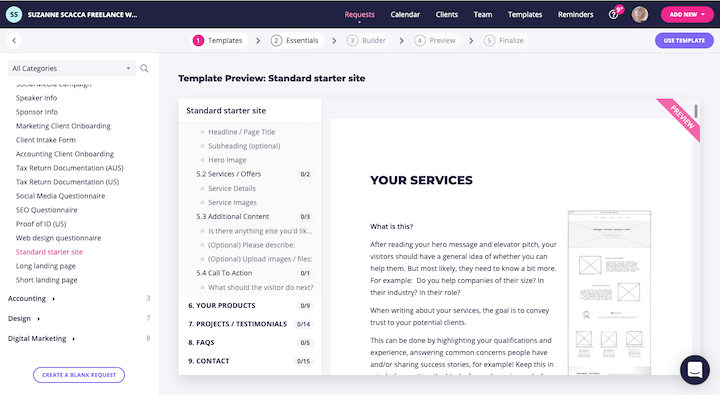
This example is useful if your client is providing you with content for the site. So, rather than leave them to just wing it, you can provide them with a basic wireframe and some guidelines on how to prepare the content for each specific area of the site.
Don’t worry if the templates have questions you don’t want to ask or are missing certain ones that you do. Content Snare is easy to edit. And it allows you to ask for a wide variety of answers and content:
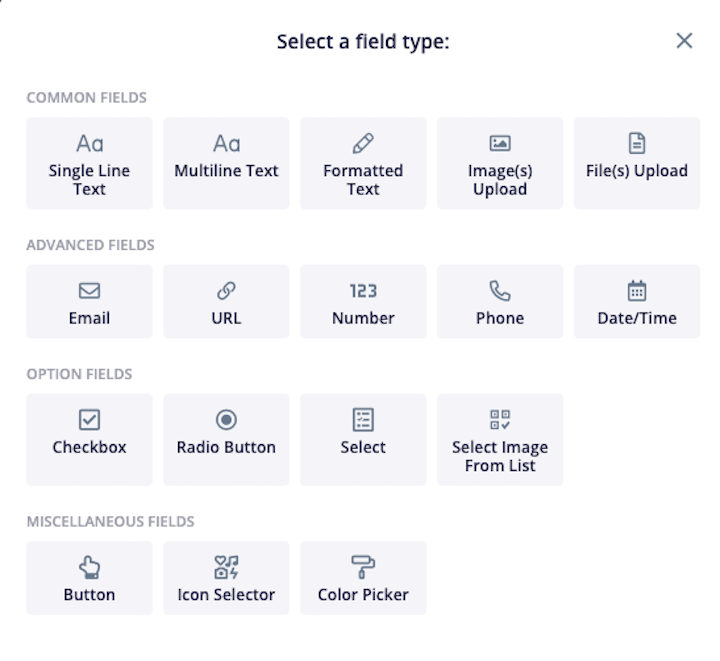
Here are some other things you can do when creating Content Snare requests:
- Include a warm and personal greeting, so your questionnaire doesn’t feel so much like a homework assignment.
- Provide crystal-clear instructions for each section and/or question. You can do this through text, helpful links, descriptive imagery, or explainer videos.
- Enforce constraints on each field so that you get the right piece of information from them.
Content Snare also allows you to configure reminders. That way, if your client hasn’t even opened the questionnaire or made significant progress within days of sending the request over, they’ll get a gentle nudge to get moving on it.
Oh, and you can turn your Content Snare template into a reusable template of your own. Trust me, this tool is a huge time-saver.
#5: Trello to Keep Things Straight on Your End
It’s not just your client that needs to be accountable during and after the onboarding process. You need to be, too. That’s why you should have a project management software in place so you can keep tabs on everything.
For web designers, I like to recommend Trello.
In terms of usability, Trello is great for staying on top of all of your activities – from the admin tasks you manage in between projects to the nitty-gritty details of your web design work. You can set start and end dates for each task, assign boards to team members, attach files or include relevant links, add a checklist of sub-tasks, and much more.
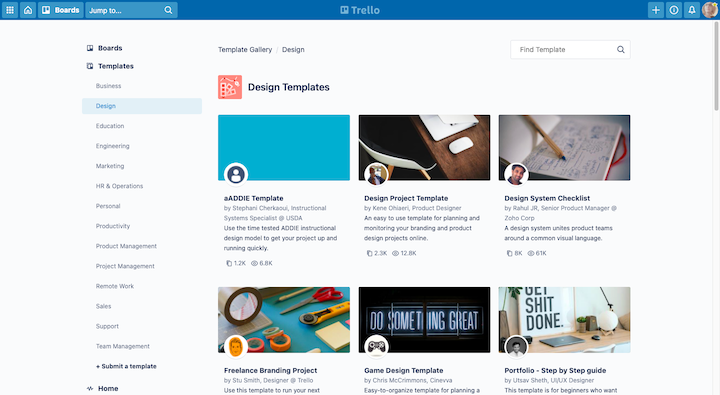
As for getting started, Trello comes with tons of templates. Even better, the templates have been created by actual users, so you can adapt someone else’s web design process and workflow to fit your own needs.
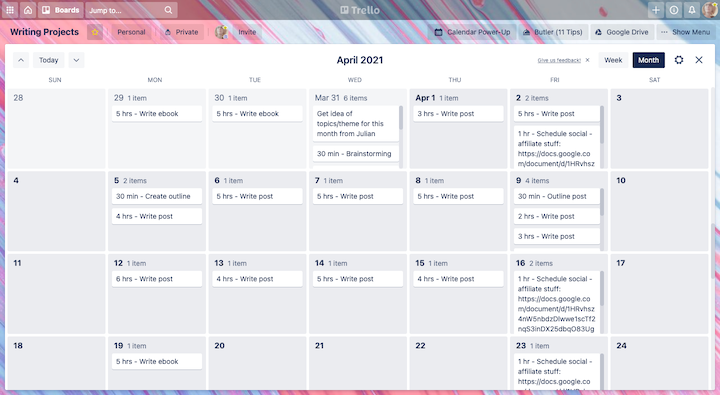
If you prefer, you can create your own template as I’ve done here:
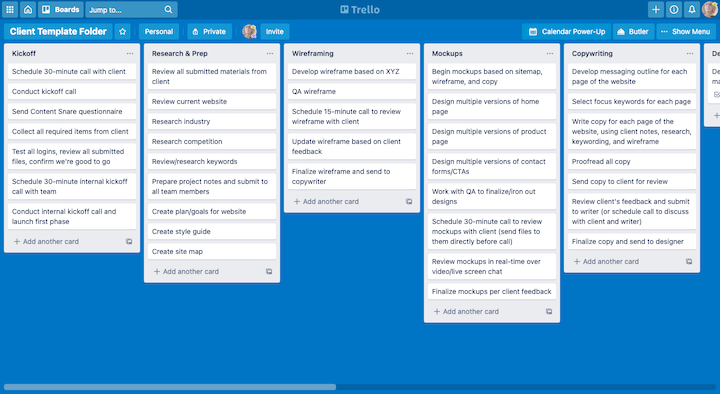
So long as you build it as a “template” instead of a “board”, you can copy and use it for as many web design jobs as you want. You can also customize your view.
For instance, I have Trello Gold (a premium upgrade), which allows me to customize my board’s design and functionality. Personally, I prefer the Calendar view for my writing workflows.
For something like web design, I’d use my upgrade to turn it into a timeline view or a process workflow with connected cards.
But that’s the beauty of Trello. You can build your projects whichever way makes the most sense for you and your team (if you have one).
Will You Simplify Onboarding with Technology?
If you’re depending on clients to provide you with things like their logo, web hosting details, brand assets, or details about their business’s offering, you can’t afford to take a “wait and see” approach.
The best thing you can do for yourself, your client, and the sake of the project is to collect all of that information before you start any work. And with the 5 client onboarding tools above, you won’t have to spend as much time or get as stressed about it anymore.