Exporting Images in Multiple Resolutions Simultaneously
It’s always nice to see design tooling evolve to accommodate modern needs. Let’s look at an example of that: image exporting. Designers and developers spend loads of time exporting images. The design work often happens in software designed for designing, and assets from that design are exported for use when building out that design elsewhere.
High density displays have complicated this process a bit. Mobile and web developers now need to produce image assets in multiple resolutions to accommodate different types of screens. On the web, that’s a particularly important task that is vital for web performance.
Graphics such as this one (via imgix) do a good job of driving that concept home:
We don’t need to go into all the HTML syntax possibilities of responsive images here. The picturefill homepage does a good job of that. Instead, let’s assume we’re going to do the bare minimum in using responsive images by providing just a 1x and 2x version via srcset.
<img src="example.png"
     srcset="[email protected] 2x"
     alt="example" >
The same kind of thing is possible in CSS.
Now the question is: how do we get those two different versions of our image? In the past, we might have had to manually resize things in the design software and export one at a time to get what we need.
This is what I mean: It’s nice to see design software evolve so we don’t have to do that anymore! Let’s look at a few examples.
Exporting from Adobe Photoshop
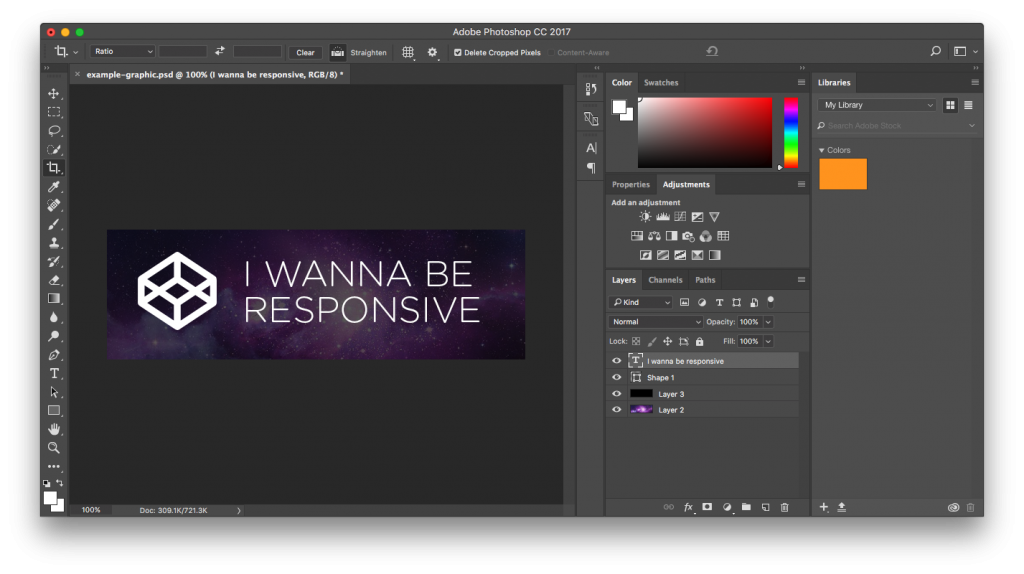
Say we’ve designed a thing we need in those two sizes:
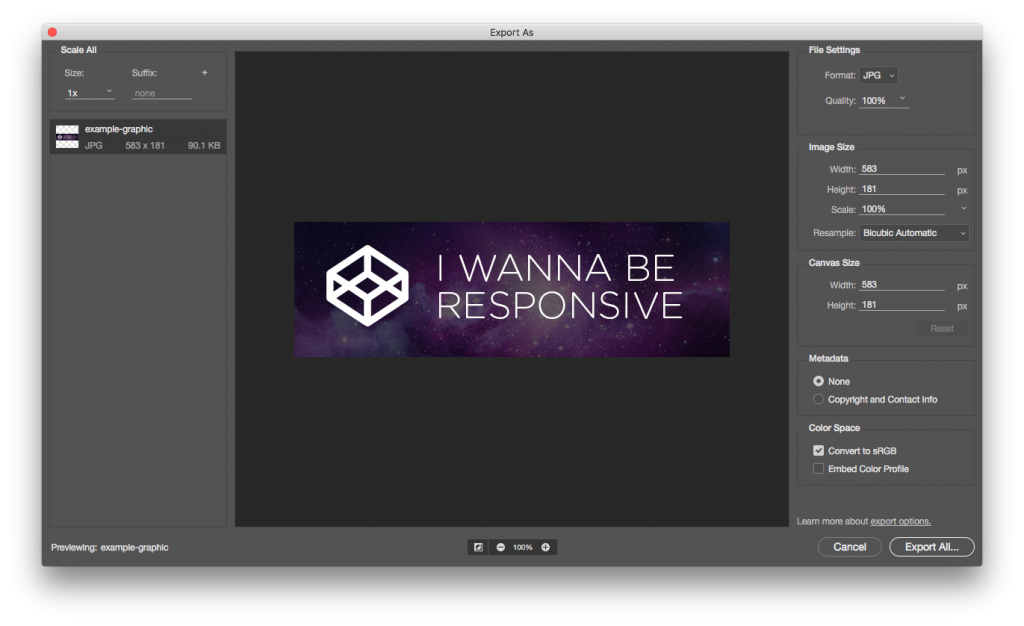
If we go to File > Export As… this is what we’ll see (in the Creative Cloud 2017 version):
This gives us the opportunity to adjust the export format and size and whatnot before actually saving. This is also where we can take the opportunity to tell Photoshop to export multiple versions. We can ask for a 2x version by clicking the “+” and choosing the options we want.
Remember that Photoshop is often for working with raster/bitmap graphics, so scaling up might not be a great idea (loss of quality). Instead your design documents might start out at 2x, and you’d export at 1x (for “2x”) and 0.5x (for “1x”).
Photoshop will export them together when you click Export All…
It’s not always that you want to export the entire document in Photoshop. If you’re interested in only exporting a particular layer, just know that all these same options apply to that, so you get to the exporting screen via the Layers palette.
Exporting from Adobe Illustrator
Illustrator’s export is understandably similar, but also a bit more sophisticated. In a good way! The equivalent here is File > Export > Export for Screens… This gives us the opportunity to export the entire document and have all the same multiple-file-export options as we saw in Photoshop.
But also note the Assets tab. This allows us to export any bit of the document we’d like to export. Could be anything. An individual object or any grouping of objects. You define these in the new Asset Export panel.
You can export right from that panel (convenient!) or, next time you go to File > Export > Export for Screens…, everything you’ve set up there will be available.
Adobe has a fun little demonstration GIF as well:
Exporting from Sketch
Sketch has always had a very nice system for exporting. It’s similar to what we just looked at in Illustrator, in that any given element or group can be exportable. You select what you’d like to be exportable in the sidebar and click Make Exportable in the bottom right.
There, you’ll have all the options for exporting into multiple files at multiple resolutions.
Exporting from Affinity Designer
Affinity Designer has perhaps the most robust exporting abilities. First, it has this concept of “personas” when using the app. They have to do with how you’re using the app at the moment. If you’re designing, you likely have it in the Draw Persona. When you’re exporting, you switch over to the Export Persona.
Exporting happens from Slices, which can be anything. You can make an object or group of object a slices. Or you can draw a totally arbitrary box to be a slice.
Once you have it set up how you like, you can export individual slices as needed or export them all at once.
If a video is your thing, it’s all explained pretty well here:
Affinity Designer 1.5 – Exporting: Multiple Outputs from a Single Slice from MacAffinity on Vimeo.


